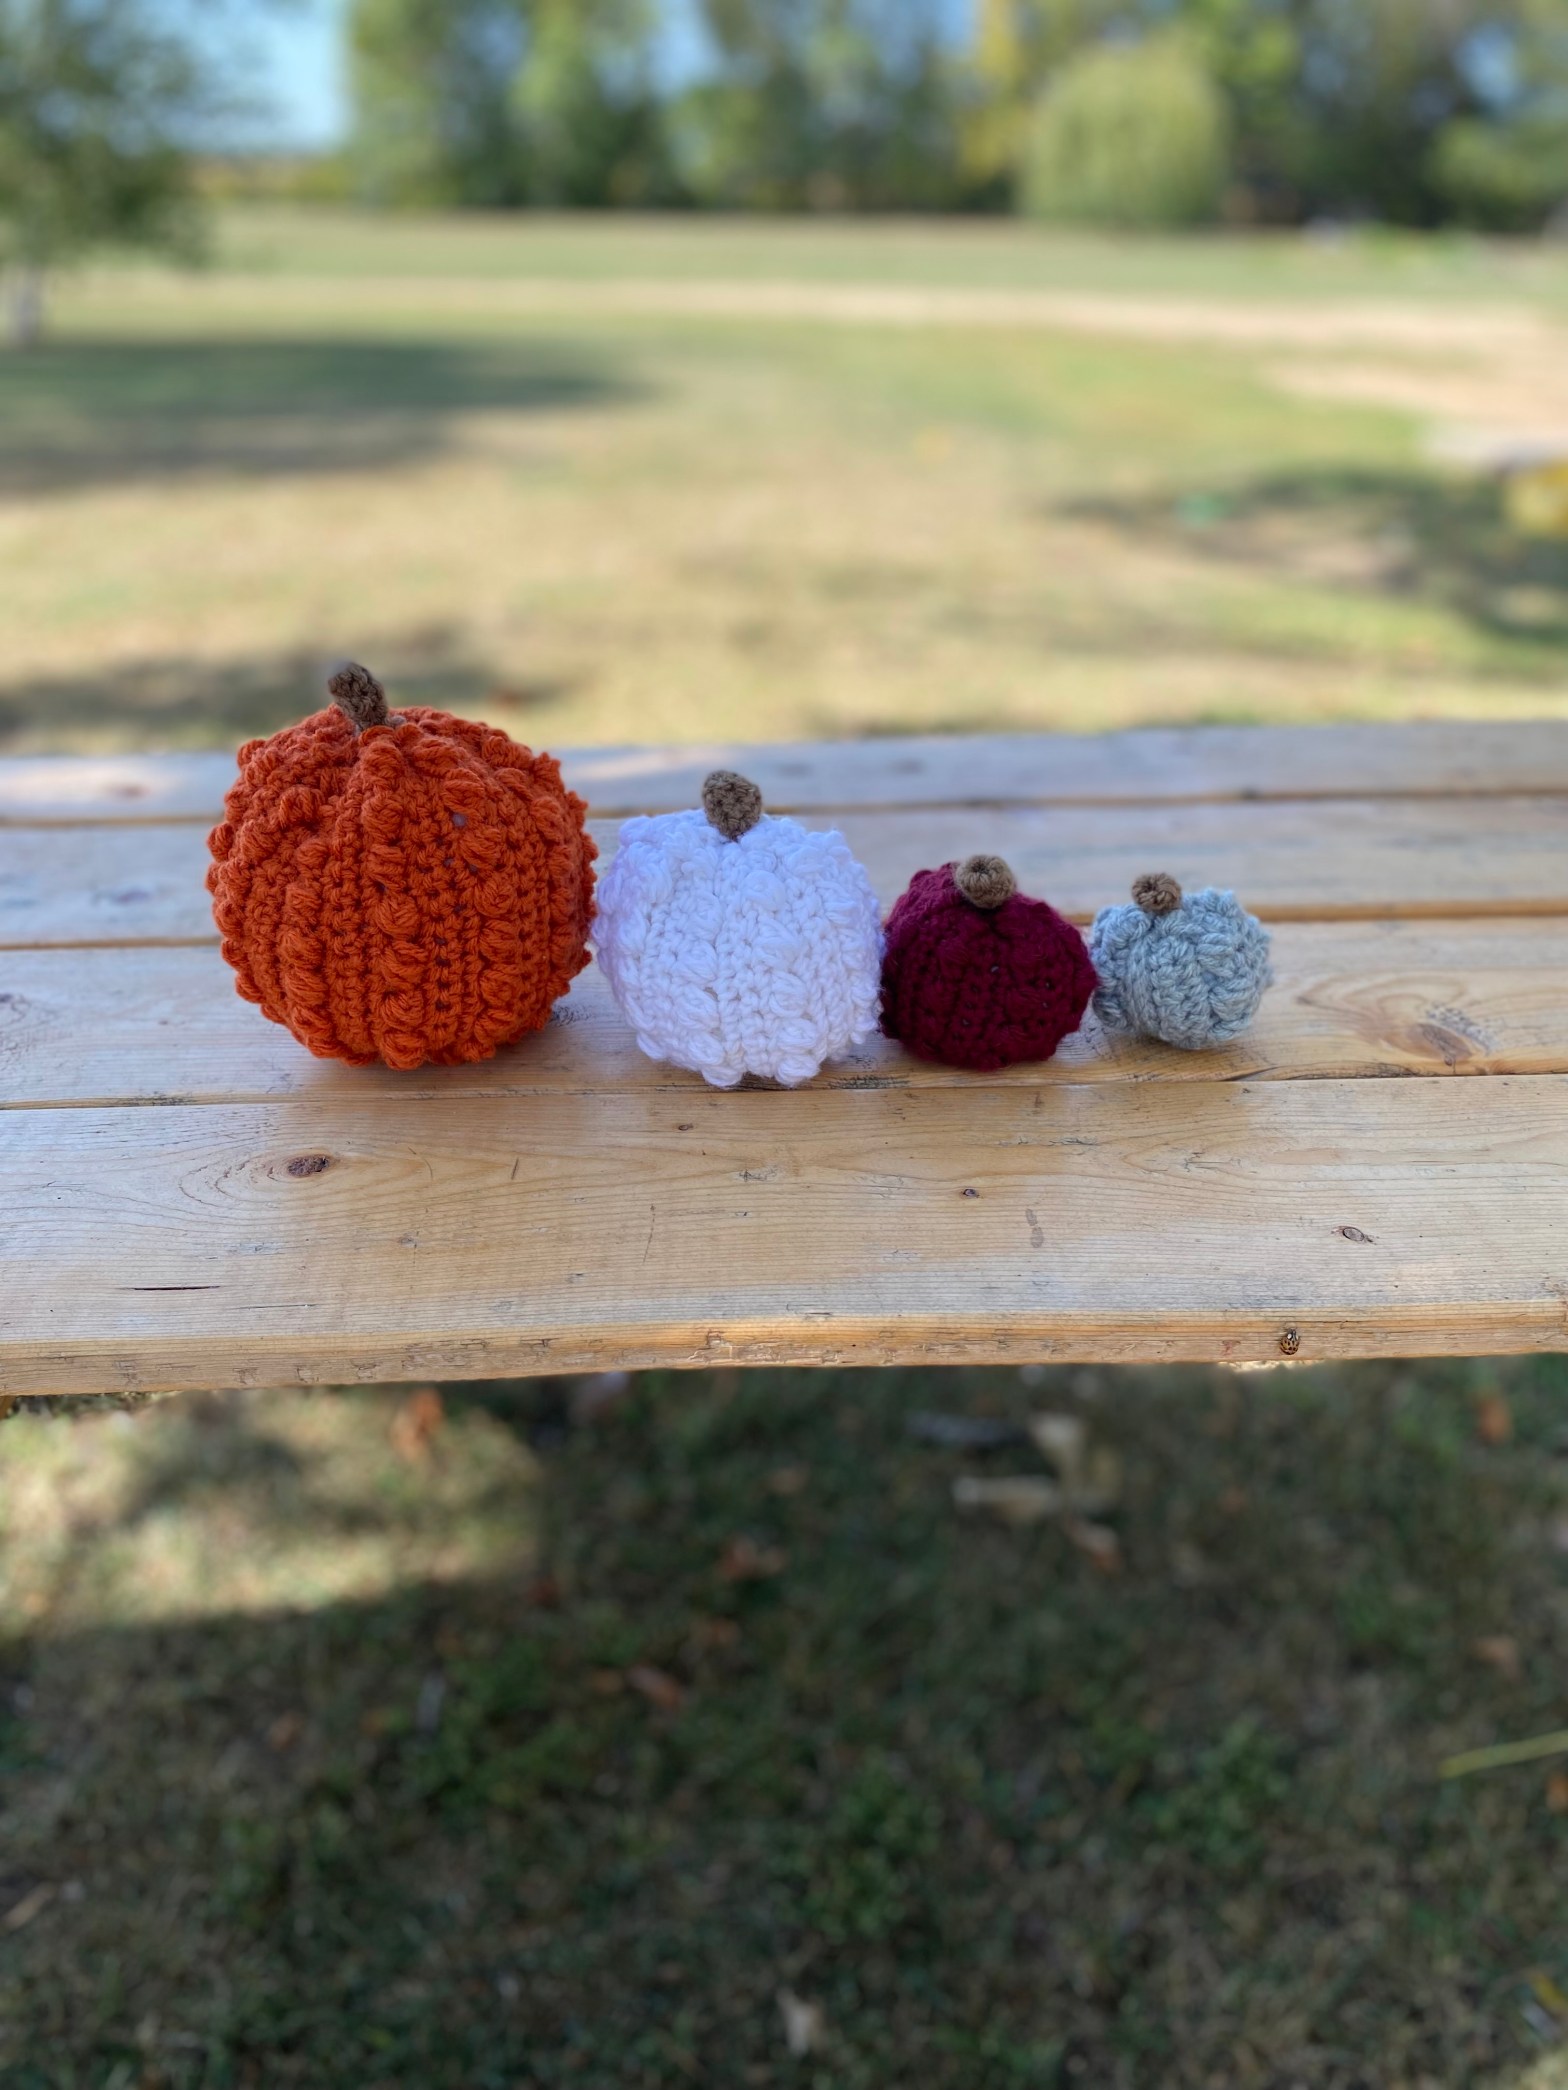
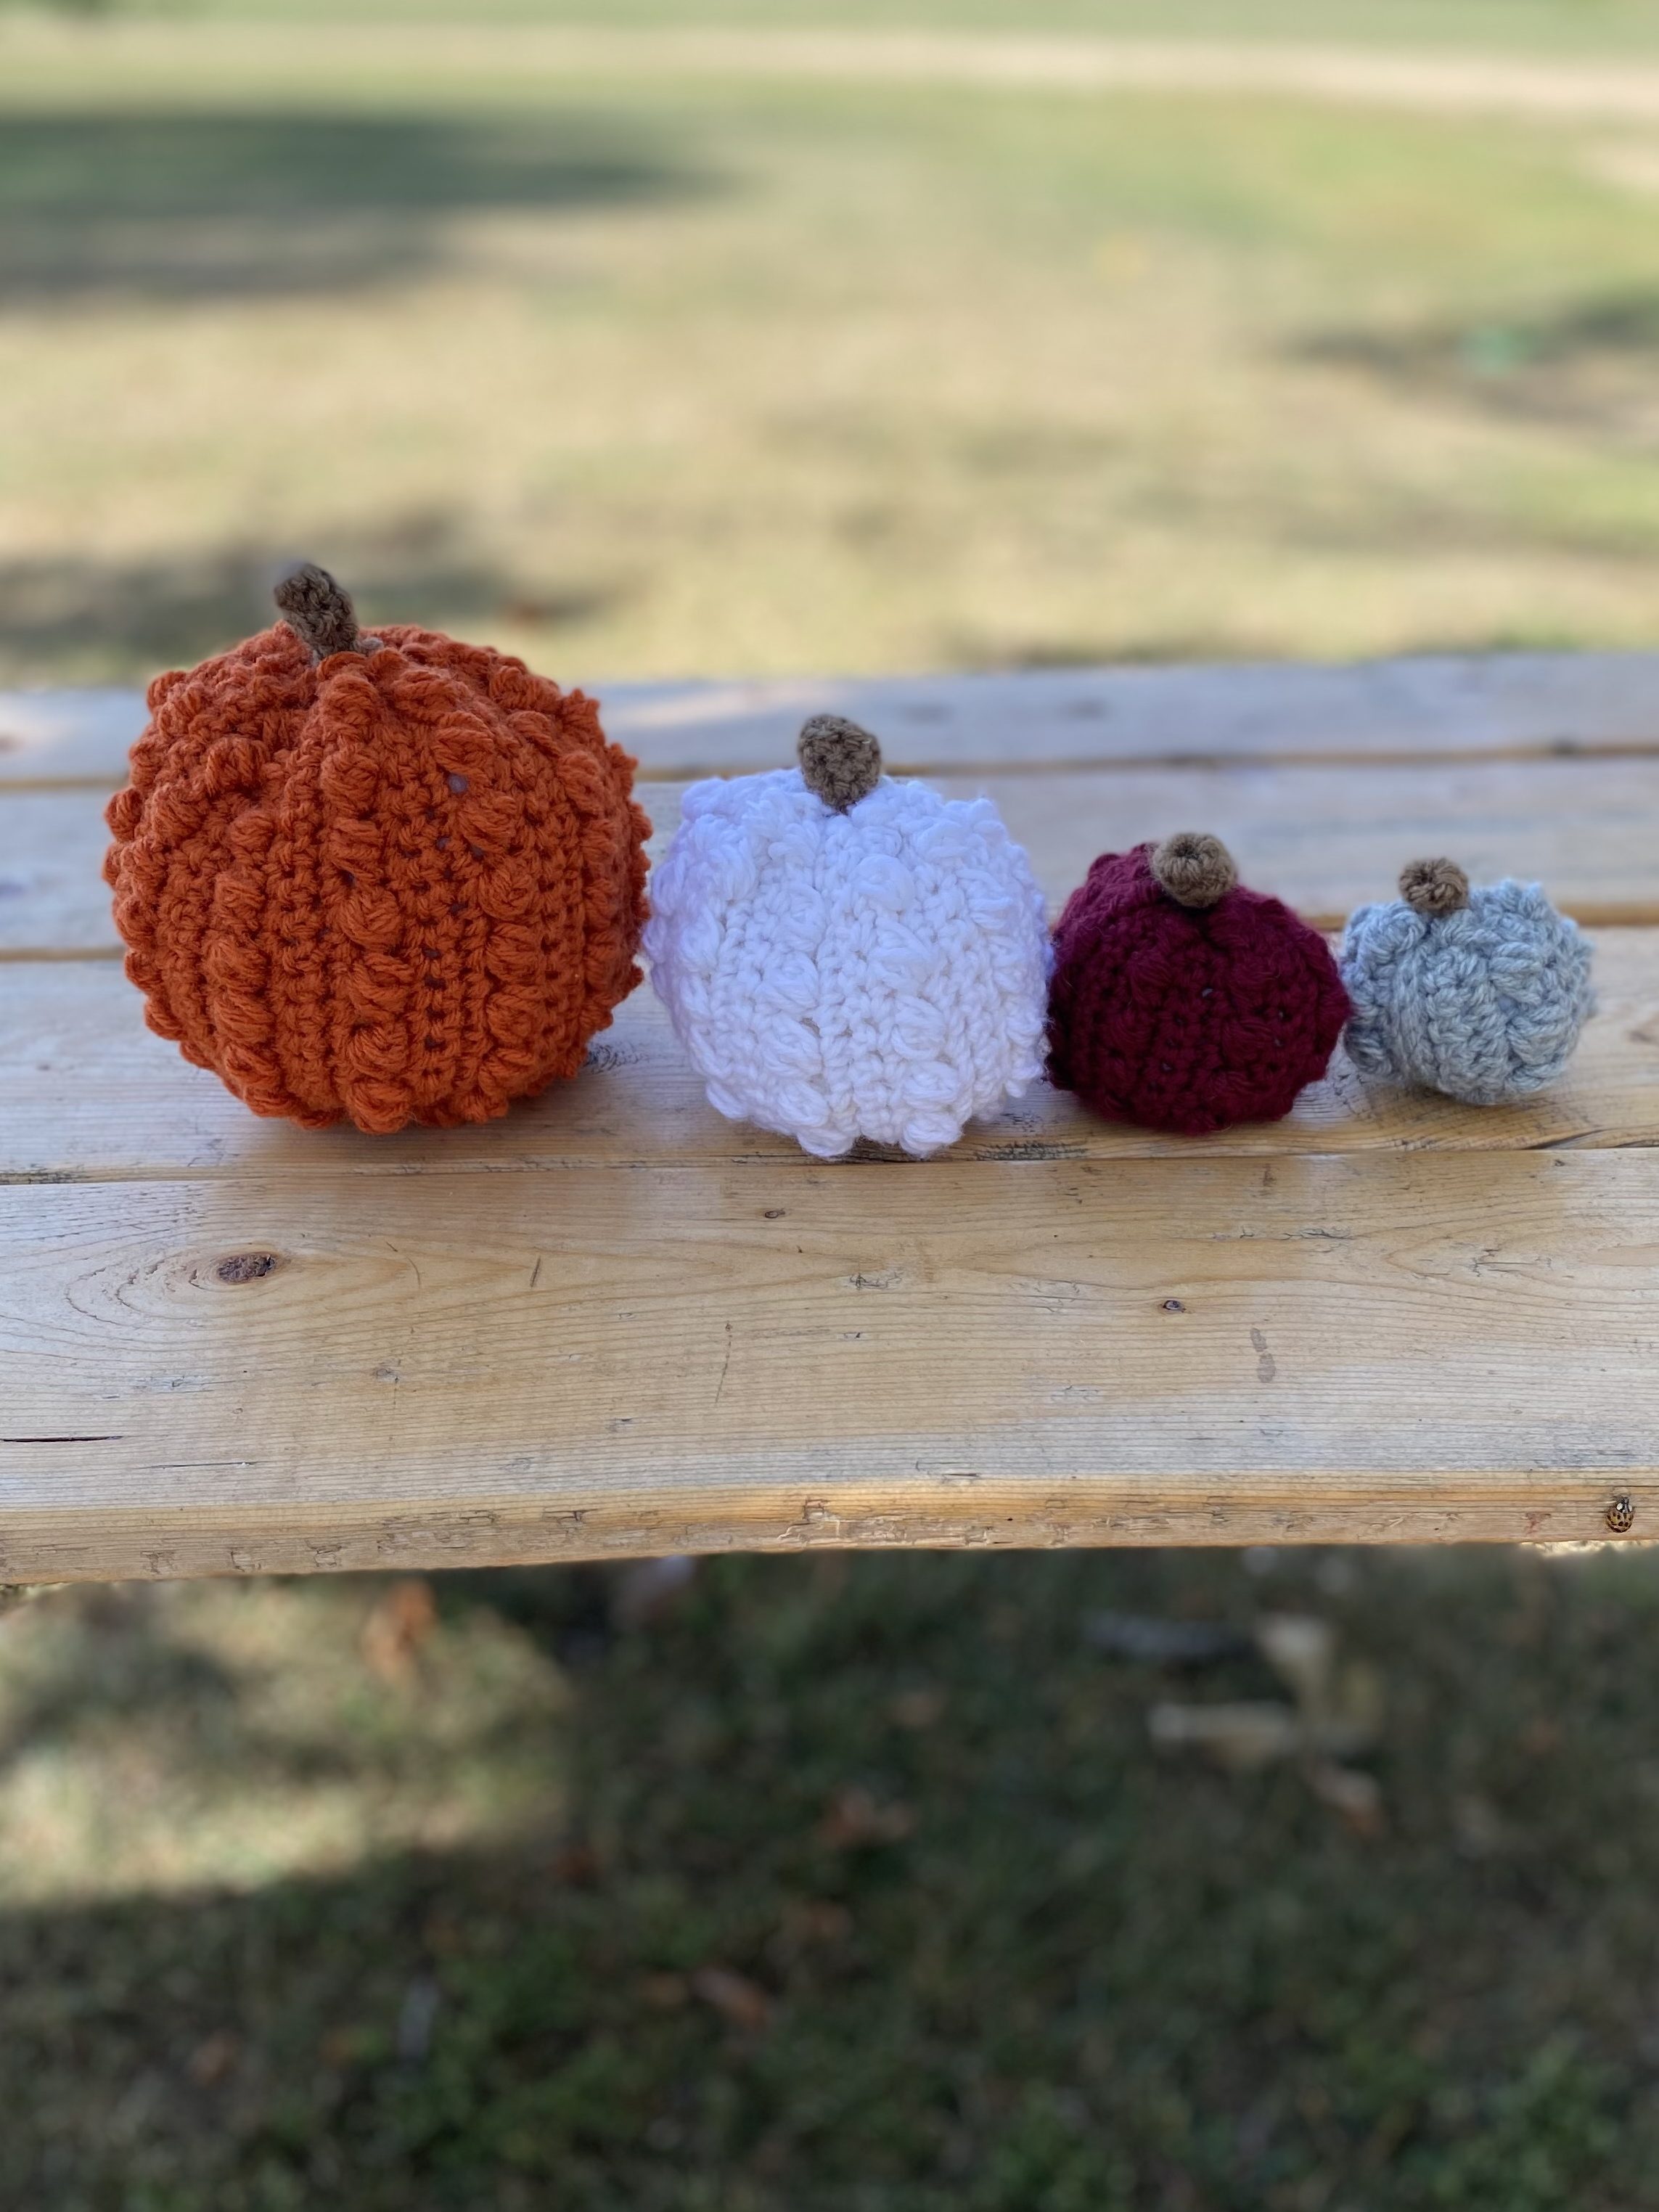
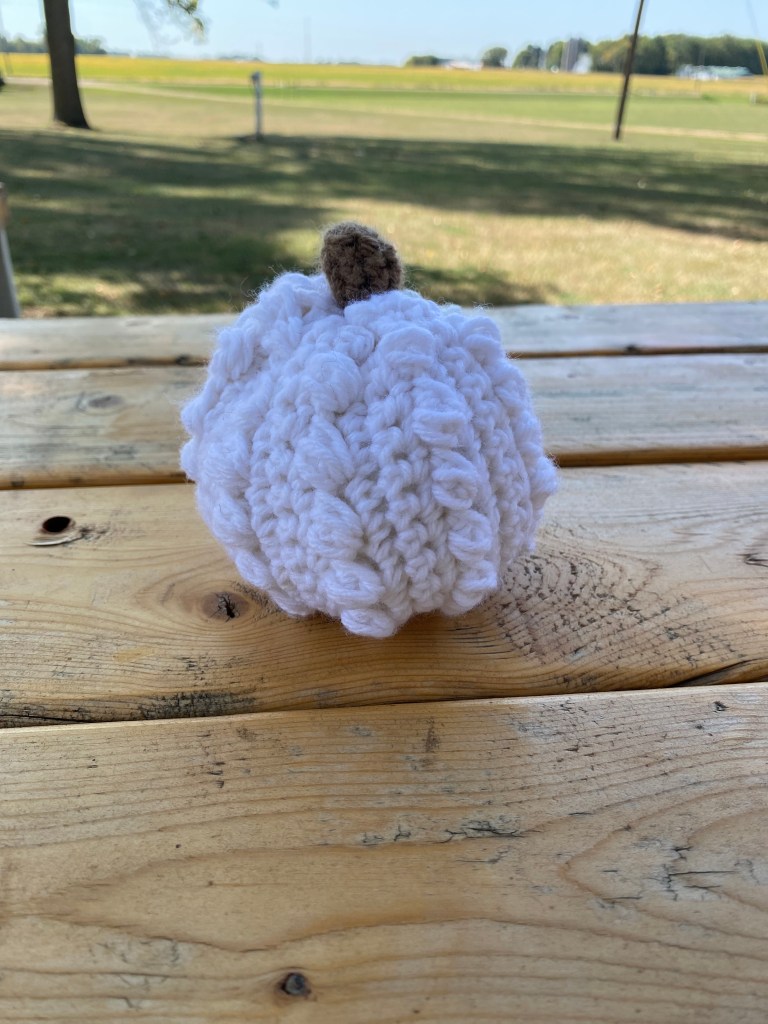
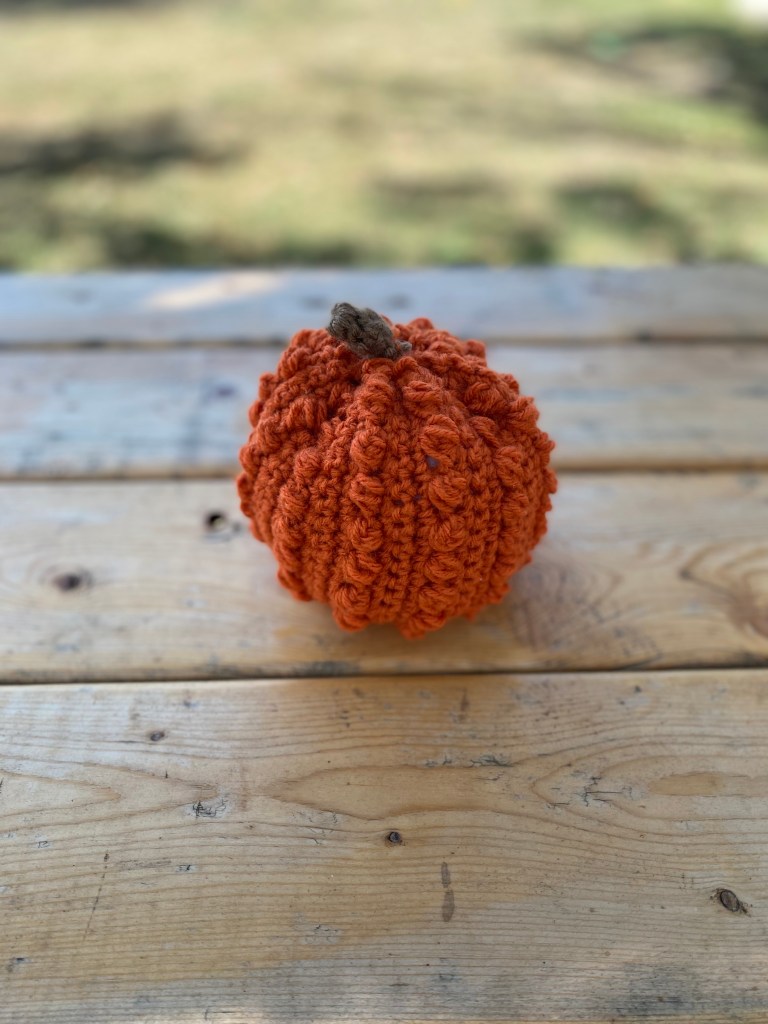
It’s officially Fall so that means you all need another pumpkin pattern! So here is my easy beginner pumpkin pattern. I wanted something that was free and easy to follow so I hope you all agree!
Materials:
*G(4.25mm) hook
*Worsted yarn (I really like Caron Simply Soft yarn for this pattern) ( 2 colors, one for pumpkin and one for stem)
*Fiber filling/stuffing material
*Scissors and needle
Notes:
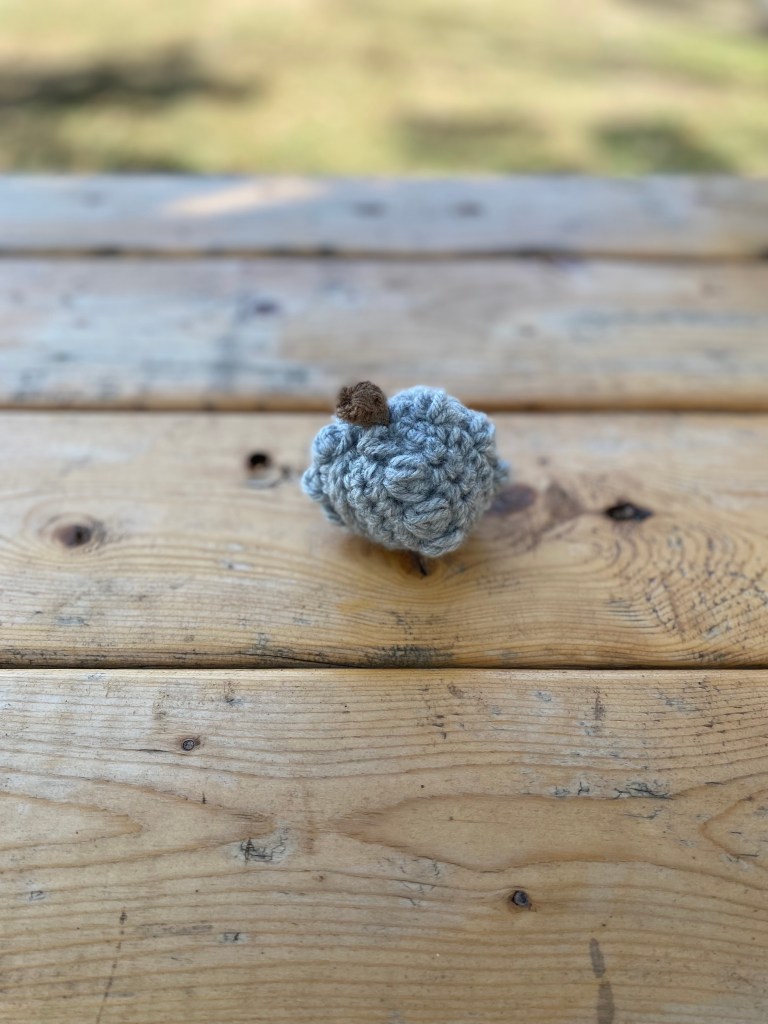
*4 sizes of pumpkins (XS, S, M, L)
*Pattern is in US terms
*Level: beginner
*puff stitch: YO, insert hook in designated st, **yo and pull up a loop, yo. Insert hook into same st) repeat ** 3 times. 7 loops on the hook and yo and pull through all loops on hook
*YO = yarn over
*Sl st = slip stich
*Ch = chain
*DC = double crochet
*SC = single crochet
Pattern:
- Chain 10 for X-small (15 for Small) (20 for Medium) (25 for Large)
- Single crochet across
- Turn, Ch 1 *puff into first st, sl st into next st*, repeat ** across
- Turn, Ch 1, Sc across
- Repeat row 4
- Repeat row 4
- Repeat row 3
- Continue repeat row 4 three times and then row 3 one time til desire length
20 rows for XS (38 for S) (40 for M) (48 for L)
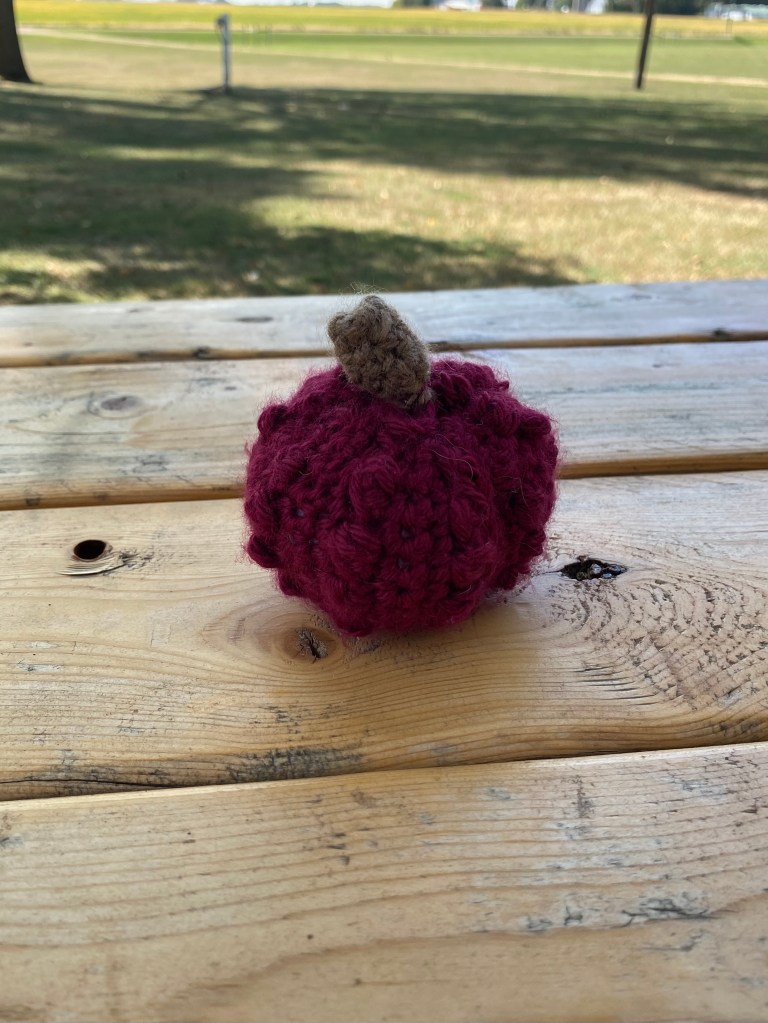
For stem:
G/4mm hook
Ch 4. Sl st into first chain (make a magic circle). Ch 1. 5 dc into center. Sc around until desired height (I usually make it bigger for the bigger pumpkins and smaller for the XS pumpkins). Fasten off, leave a long tail to attach it to the pumpkin.
Assembly:
Using a needles and a long tail, match up short ends together (inside out) and sl st together. Weave in and out of the top edging of your work. Pull tight and secure to close. Turn right side. Fill with desired amount of stuffing. Weave yarn along top in and out and pull tight and secure close, leave a tail to help attach the stem. Tie completed stem tail to tail from pumpkin, stitch around stem to attach securely to pumpkin. Tie 3 times and cut off extra.

Happy making!!!
